Description
How to Make a 38mm Natural Leather Belt with Double Keepers
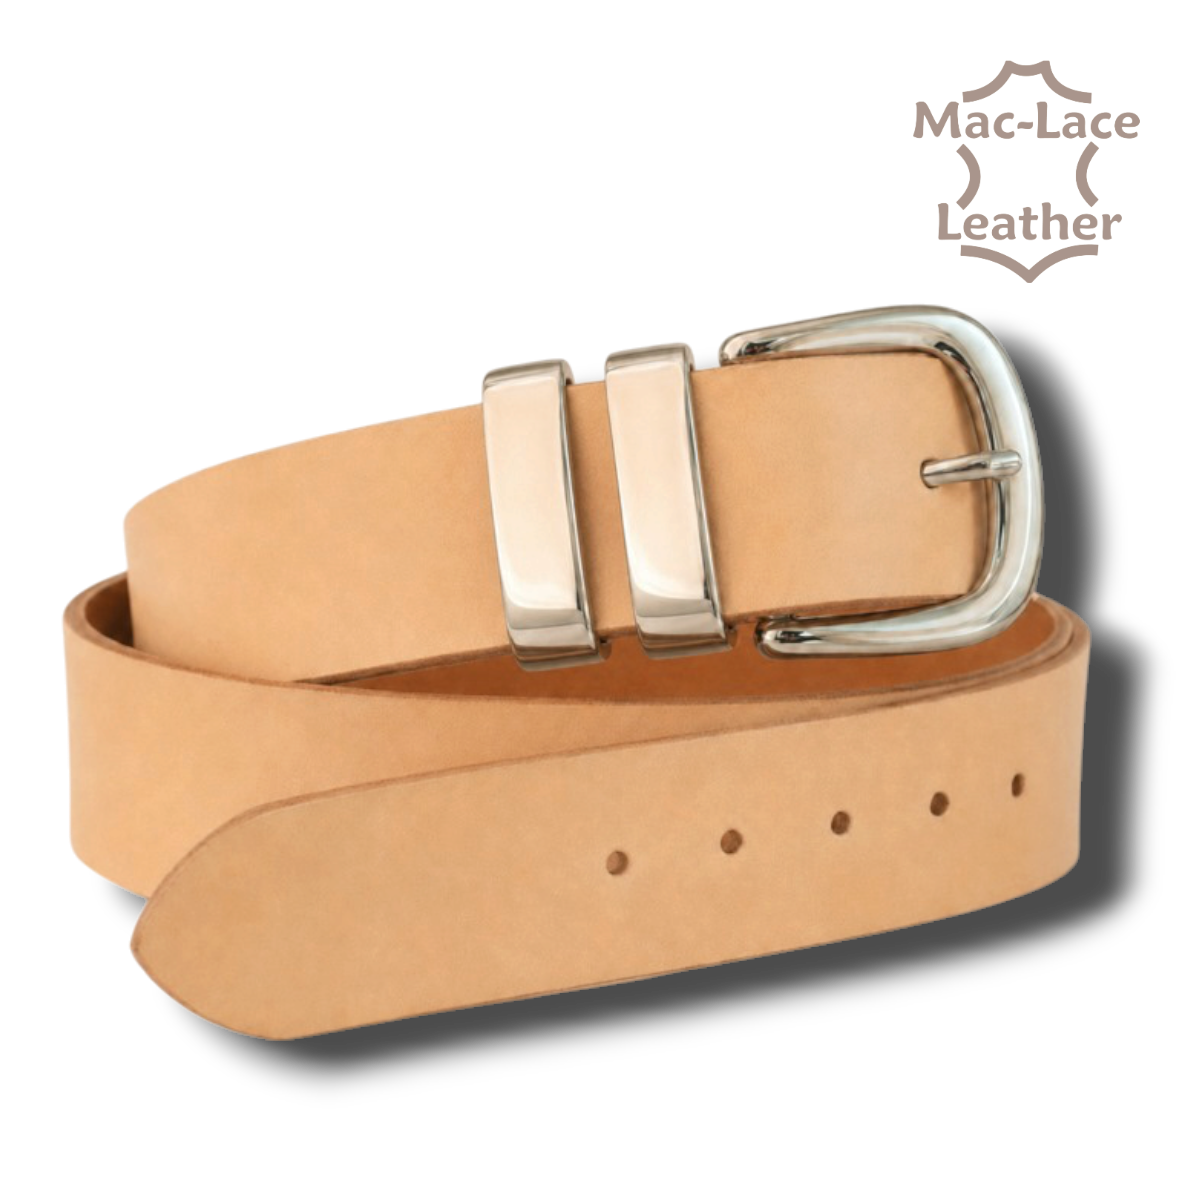
Creating your own 38mm natural leather belt is a satisfying leathercraft project that allows you to produce a strong, comfortable and attractive belt made to your required size.
Begin by inspecting your natural leather belt blank and choosing which end will become the belt tip. Position a 38mm belt template over the leather, then use an awl to mark the tip shape and adjustment-hole positions. Cut the tip with a strap-end punch, belt-tip punch or sharp utility knife before punching the holes.
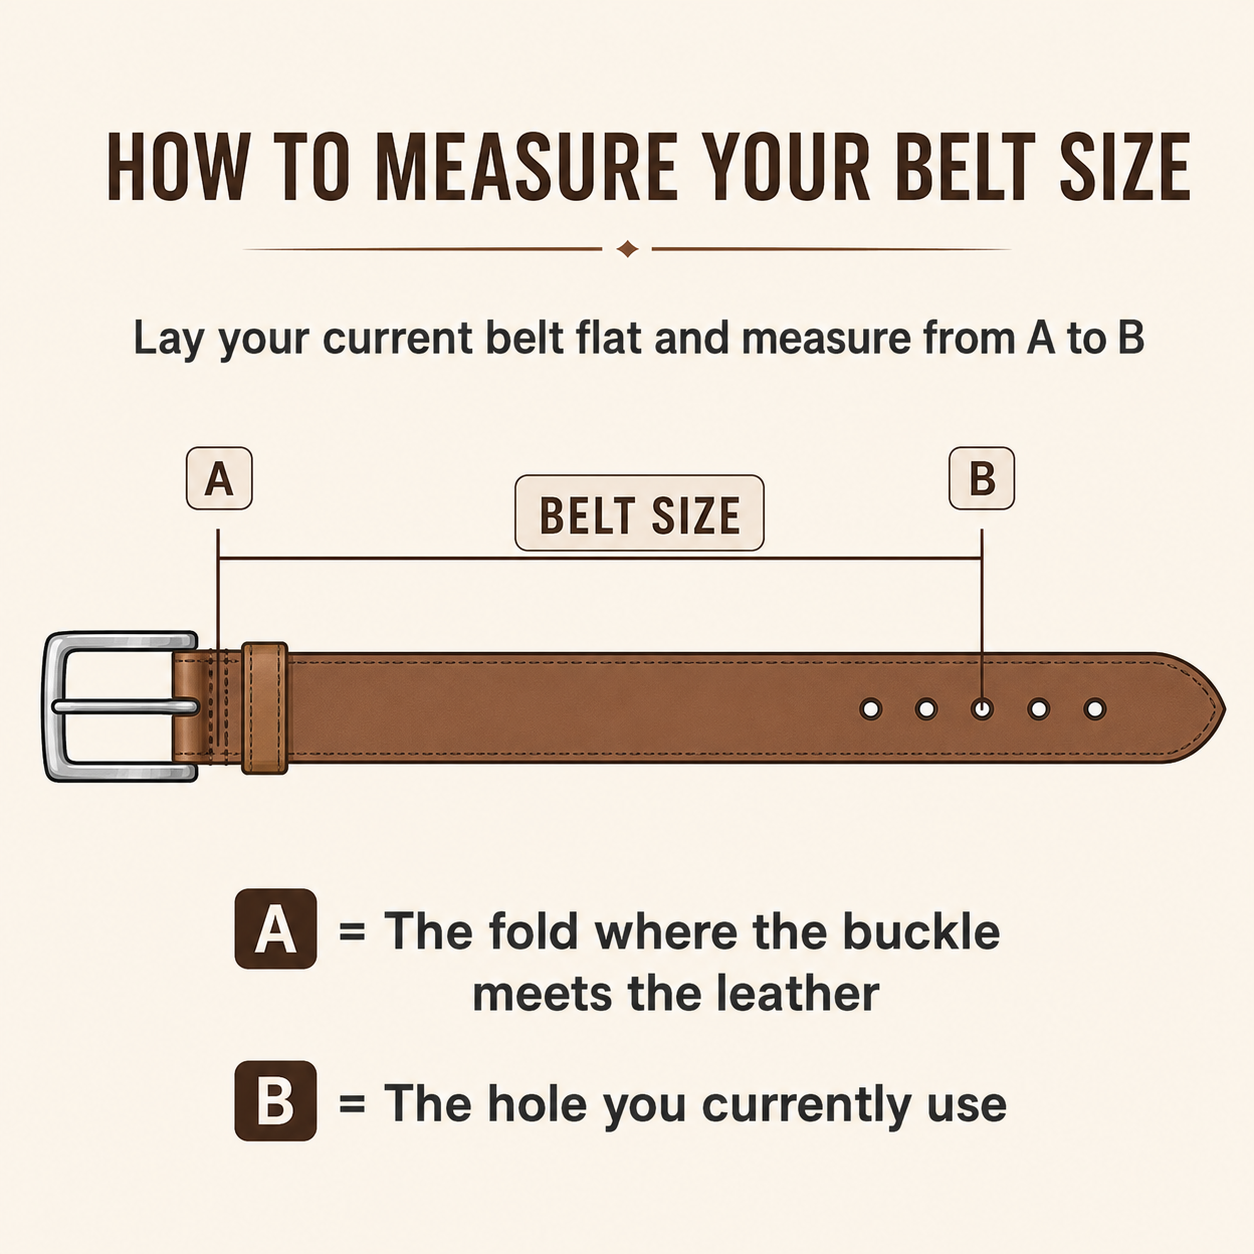
Bevel the front and back edges to remove sharp corners and create a professional profile. Measure carefully from the buckle-prong position to the centre adjustment hole, following the supplied belt-sizing diagram. Double-check the measurement before trimming the leather.
At the buckle end, mark the oblong prong slot, fold-over section and Chicago screw holes. Punch the oblong slot, temporarily fit the buckle and confirm that the fold provides enough room for both leather keepers.
After cutting away the excess leather, mark and punch the matching fixing holes through both layers. Sand the belt edges progressively until they feel smooth and even. Apply Tokonole or your preferred edge-finishing gum and burnish with an edge slicker. Finish with beeswax for an attractive shine.
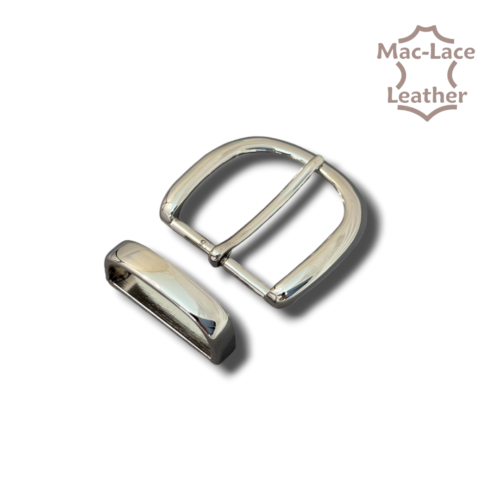
Apply conditioner, dye or a protective leather finish if required. Once dry, install the 38mm buckle and position both keepers side by side with a small, even space between them. Secure the assembly using Chicago screws and optional removable thread-locking compound.
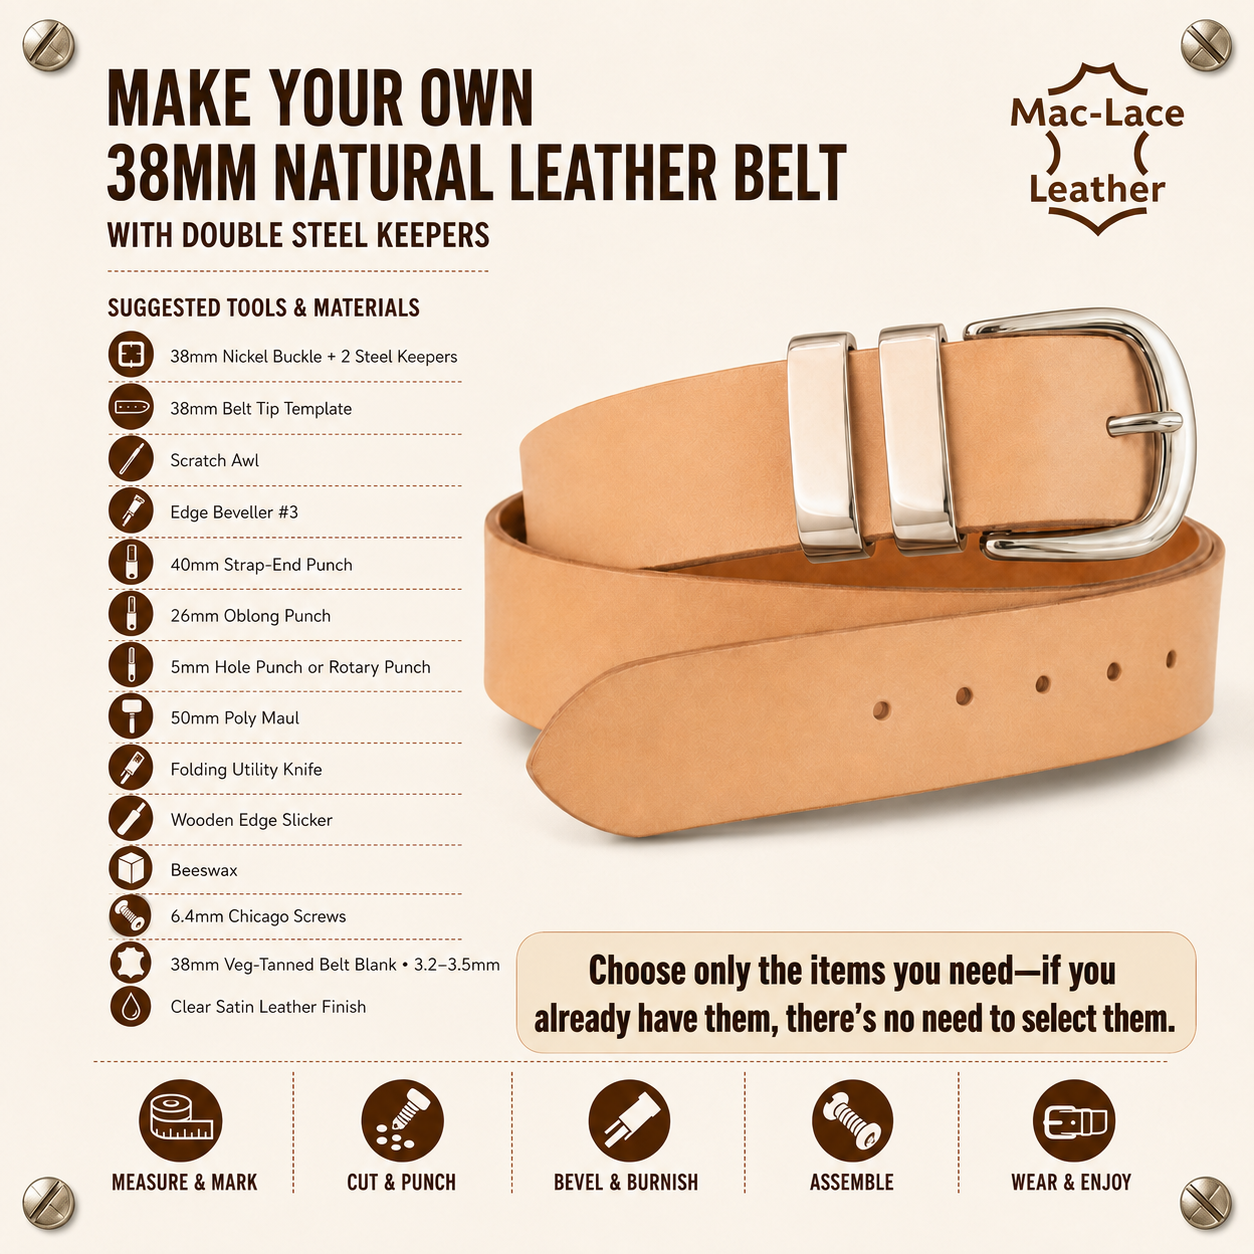
Please remember that every tool and material mentioned is only a suggestion. You are welcome to use tools and leatherworking methods you already own and trust. You are not obliged to purchase every listed item.
What You’ll Need
- 38mm natural leather belt blank or strap
- 38mm belt template
- Awl or marking tool
- 38mm strap-end punch, belt-tip punch or sharp utility knife
- Hole punch or rotary punch
- Edge beveller
- Sandpaper or sanding tool
- Oblong punch
- Mallet, maul or hammer suitable for leatherworking
- Edge slicker or burnisher
- Tokonole or edge-finishing gum
- Beeswax
- Leather conditioner, dye or protective finish if required
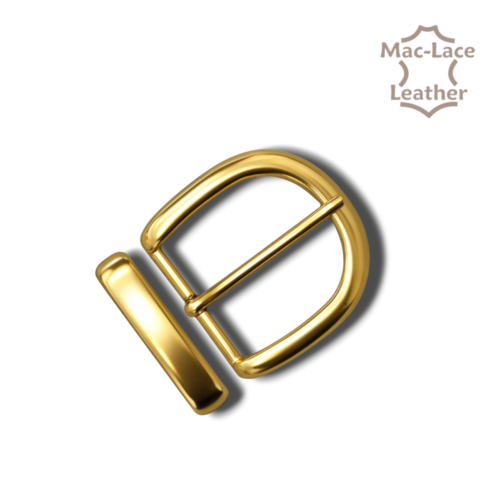
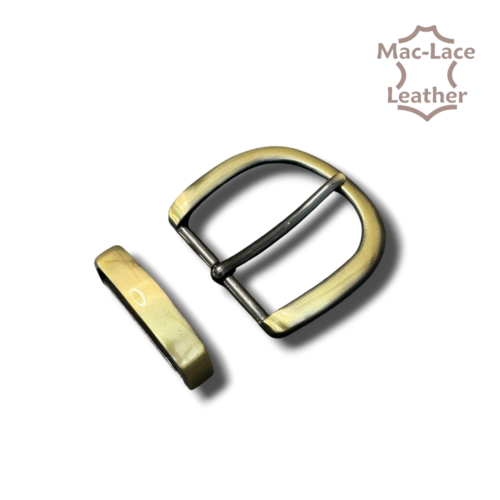
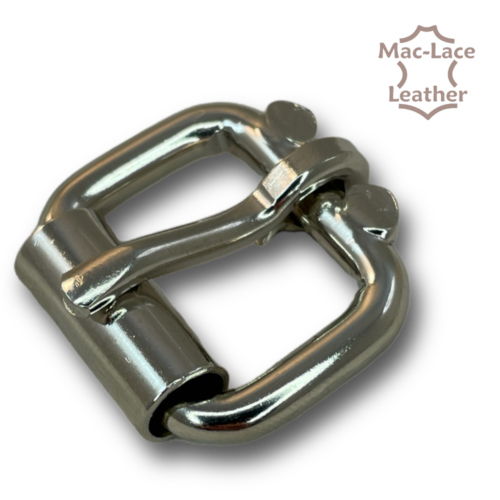
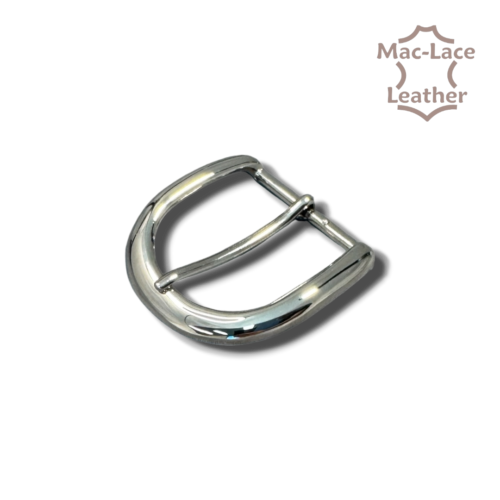
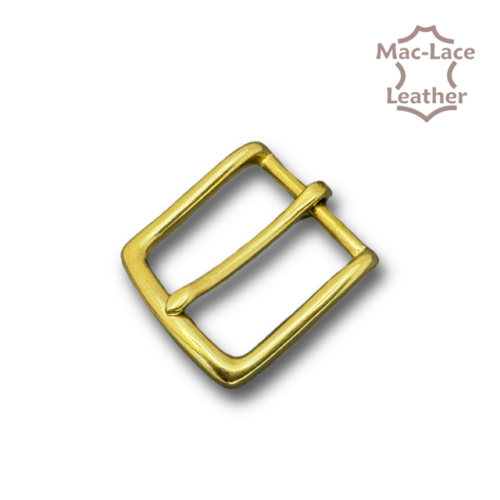
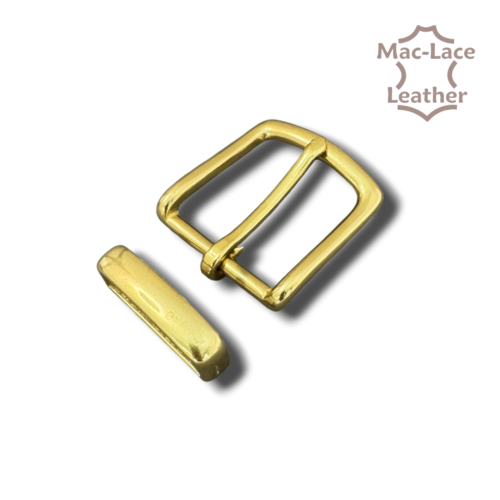
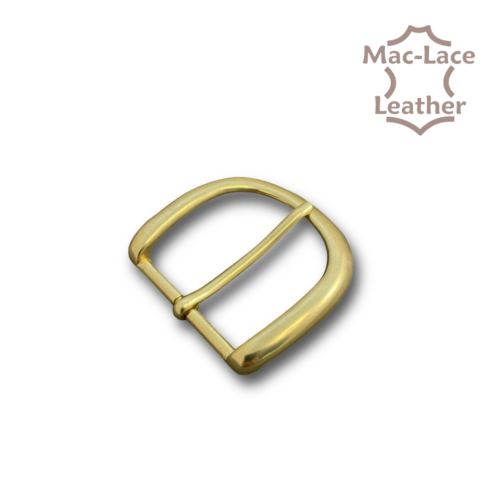
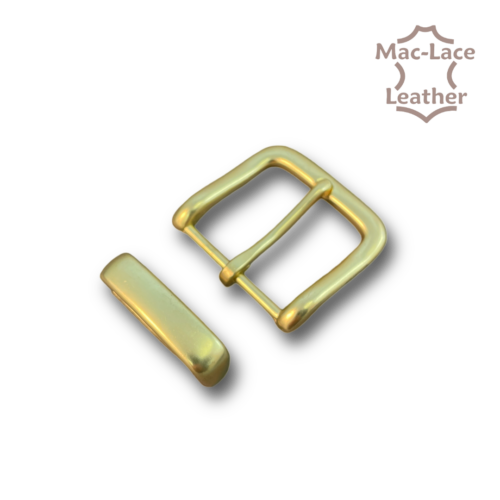
- 38mm buckle
- Two 38mm leather keepers
- Chicago screws
- Thread-locking compound suitable for Chicago screws—optional but recommended
Step-by-Step Instructions
-
Inspect and prepare the leather
Check the belt blank for marks or imperfections. Decide which end will become the belt tip and which end will hold the buckle. If necessary, lightly sand the back and edges to remove loose fibres.
-
Mark the belt tip
Position the 38mm belt template at the tip end. Use an awl to mark the belt-tip shape and place a clear dot at each belt-hole position.
-
Cut the belt tip
Cut the shaped end with a 38mm strap-end or belt-tip punch. If you do not have one, carefully cut along the marked line with a sharp utility or leatherworking knife.
-
Punch the adjustment holes
Using the marks made with the template, punch each adjustment hole with a suitable hole punch or rotary punch. Make sure the holes are centred and evenly spaced.
-
Bevel the edges
Run an edge beveller along all four long edges of the belt—front and back—as well as around the shaped tip and buckle end. This removes the sharp corners and gives the belt a smoother, more professional finish.
-
Measure the correct belt size
Measure the wearer’s existing belt from the point where the buckle prong rests against the buckle to the hole used most often. Alternatively, measure the waist using the supplied sizing diagram.
The finished measurement should run from the buckle-prong position to the centre adjustment hole. Always double-check the measurement before cutting.
-
Mark the buckle end
Use the buckle-end section of the template to mark:
- The oblong slot for the buckle prong
- The fold-over length
- The Chicago screw holes
- The final cutting position
-
Punch the buckle-prong slot
Place the belt on a suitable cutting board. Using a mallet, maul or suitable hammer, drive the oblong punch through the marked prong-slot position.
-
Test the buckle fold
Insert the buckle prong through the oblong slot and temporarily fold the leather around the buckle bar. Check that the fold sits neatly and that there is enough room for the buckle and both keepers.
-
Trim the excess leather
Once you are happy with the buckle placement and fold-over length, mark and cut away any excess leather. Take care not to cut the buckle end too short.
-
Mark and punch the fixing holes
Fold the buckle end into position and carefully mark the Chicago screw holes through both layers. Punch the holes with a hole punch or rotary punch, ensuring that the matching holes line up accurately.
-
Sand and finish the edges
Sand the edges progressively until they are smooth and even. Apply Tokonole or another edge-finishing gum, then burnish firmly with an edge slicker.
Finish with a small amount of beeswax and burnish again to produce a smooth, attractive shine.
-
Finish and seal the leather
If desired, apply leather dye, conditioner or a protective finish. Natural vegetable-tanned leather can be left natural or conditioned to highlight its colour. Allow all finishes to dry completely before assembly.
-
Install the buckle and double keepers
Feed the buckle prong through the oblong slot and fold the leather around the buckle bar. Slide both keepers onto the folded section, making sure they sit neatly side by side with a small, even space between them.
-
Secure the belt
Align the fixing holes and install the Chicago screws. Tighten them firmly without damaging the leather. A small amount of removable thread-locking compound can help prevent the screws from loosening during use.
-
Final inspection
Check that:
- The buckle moves freely
- The prong sits centrally in the slot
- Both keepers are straight and evenly spaced
- The Chicago screws are secure
- All edges are smooth and properly sealed
- The centre adjustment hole matches the required belt measurement
Your handmade 38mm natural leather belt with double keepers is now ready to wear. It really is that easy!


Reviews
There are no reviews yet.